Face shape guide
How to Find Your Face Shape: Manual and Photo Methods
Use a mirror or a straight-on photo to compare facial proportions without uploading your image anywhere.
Analyze my face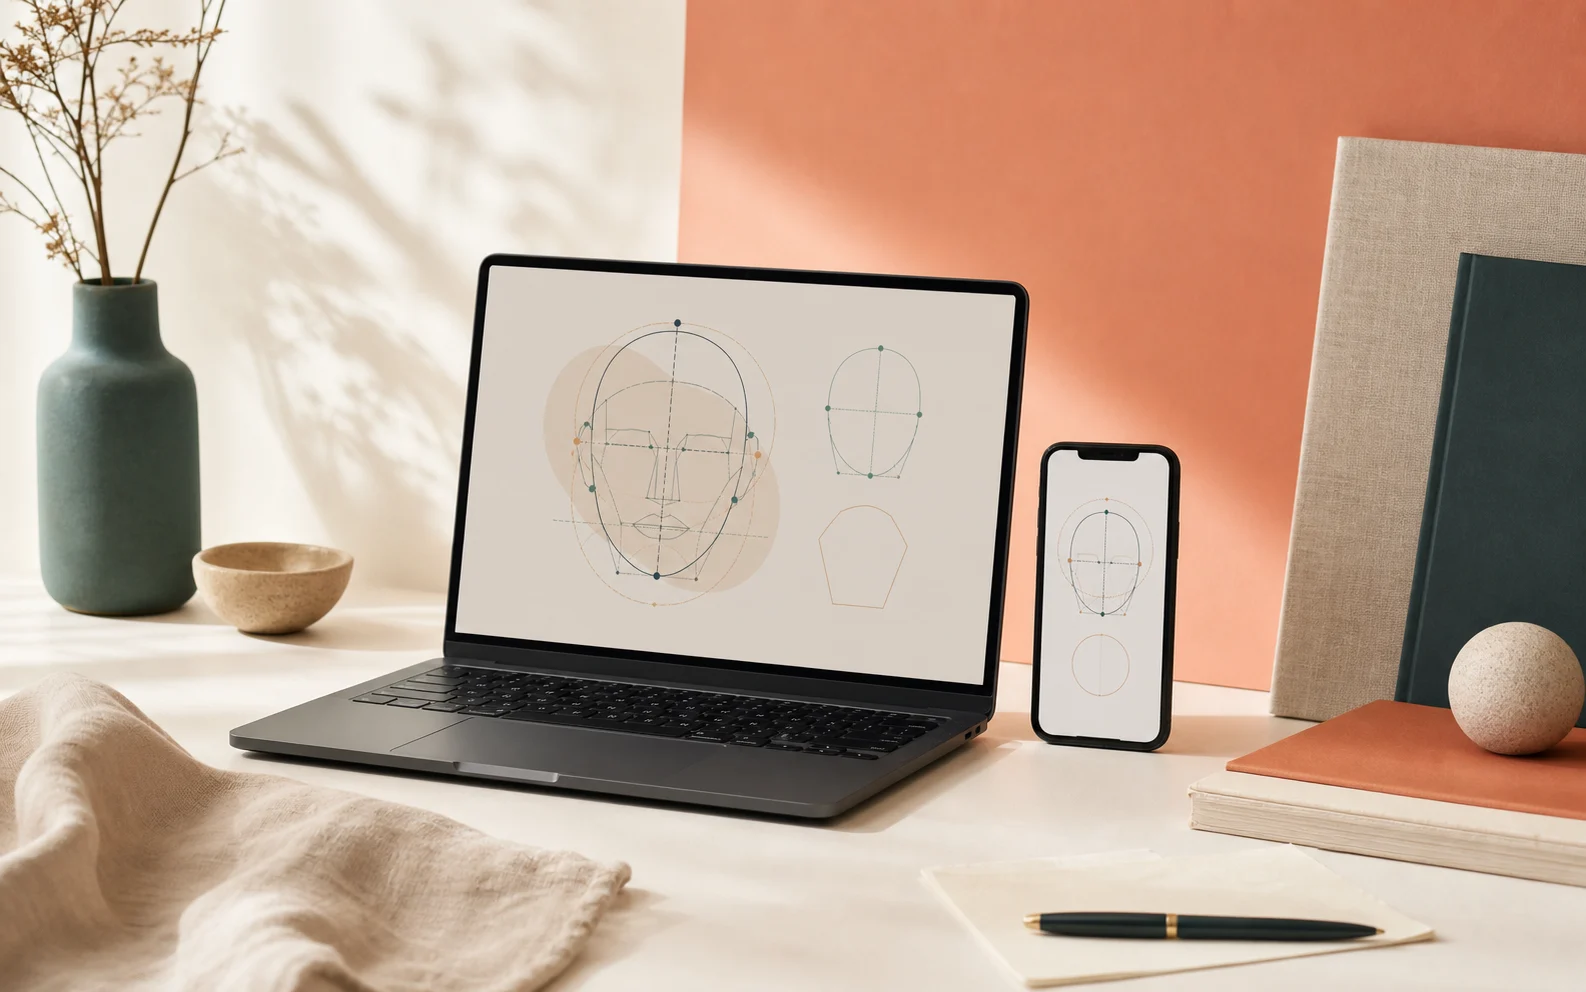
Prepare one useful view
You can find your face shape with a mirror or a straight-on photo. A photo is often easier because you can step back, hide the rest of the image, and look at the outline without moving. Either way, use even light and face forward with a relaxed expression. Keep your chin level, and move hair away from the forehead, cheeks, and jaw if possible.
Place the camera roughly at eye level and leave a little room around the head. Avoid unusually close selfies, dramatic poses, filters, and wide-angle lenses. They can stretch the centre of the face, shorten the forehead, or make a jaw look sharper or wider than it does in a neutral view. You do not need exact measurements; you need one view that makes the major widths easy to compare. If you have taken four measurements and prefer a proportional second perspective, use the manual measurement calculator.
Follow the four-step check
Write a few observations before choosing a label. This slows down the common mistake of deciding from one feature, such as a pointed chin or a strong jaw.
- Compare the overall length. Ask whether the face reads close to as long as it is wide, gently longer, or distinctly longer. A clearly vertical impression is often more useful than trying to measure a ratio by eye.
- Find the widest area. Look across the forehead, cheekbones, and jaw in the same view. The cheeks may stand out most, the upper face may open wider, or the jaw may create the broadest line.
- Trace the direction from forehead to jaw. Notice whether the outline stays fairly even, narrows toward the chin, or opens outward toward the lower face. This step helps separate a broad upper face from a broad jaw.
- Inspect the jaw transition. Look at the line from cheek to jaw to chin. Does it move in a soft curve, a clearer angle, or a gentle taper? Treat this as one signal alongside the other three, not as a verdict.
Then compare your notes with the seven face shape guides. An oval outline often combines gentle length with a soft taper. Round and square outlines can share similar visible length and width, while their lower contour feels different. Heart, diamond, and triangle patterns are often easier to separate by locating the widest horizontal line before looking at the chin.
Use a close comparison when needed
If two labels still seem plausible, compare only the relationship that is hard to judge. The oval and oblong guide is useful when length is the question. The round and square comparison focuses on the jaw transition. A tapered lower face may call for the heart and diamond comparison, while a strong jaw can be checked against triangle and square.
This is more useful than searching for a category that describes every detail. Face shape labels are broad visual patterns, so a close alternative can still give you a helpful way to understand the same outline.
What can distort the comparison?
Hair that is wide at the temples can hide the true forehead width, while hair that ends at the jaw can make the lower face look broader. Tilting the chin, turning the head, or smiling strongly changes the contour too. A low camera angle can overstate the jaw, and a close wide-angle camera can alter the relative width of features near the centre of the face.
Try a second neutral view when the first one feels unclear. If your observations keep falling between two labels, that is a normal result rather than a failed test. Read both relevant shape guides, then use the private face shape analyzer for a browser-only second perspective. It processes the photo locally and returns a style-oriented estimate; it does not upload or save the image.